Zhuoyi (Joey) Huang
Technical Level Designer

Operation:RAT
Walkthrough
Level Highlights


Level Layout
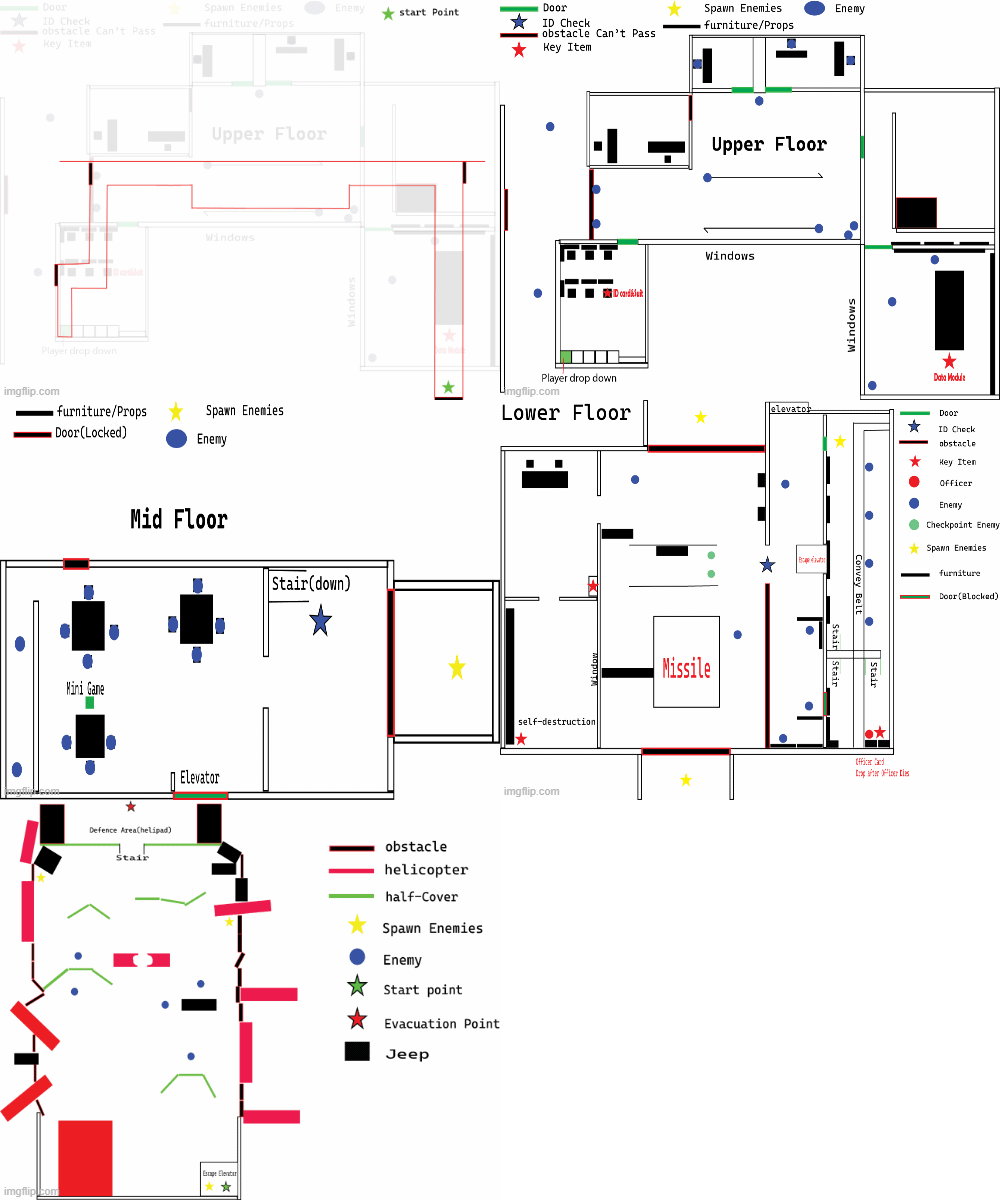
Miro Board
Blueprint Showcase
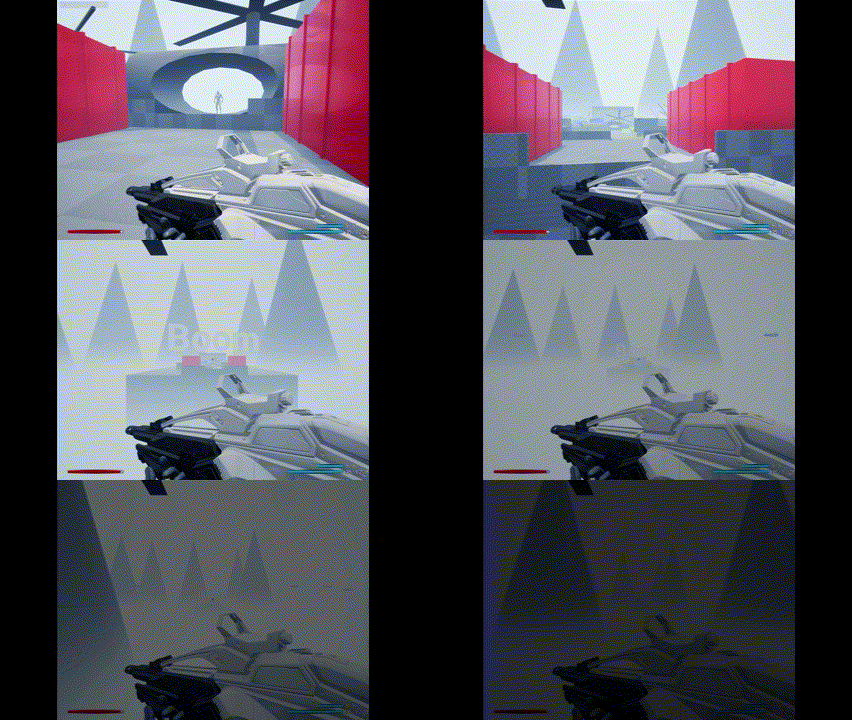
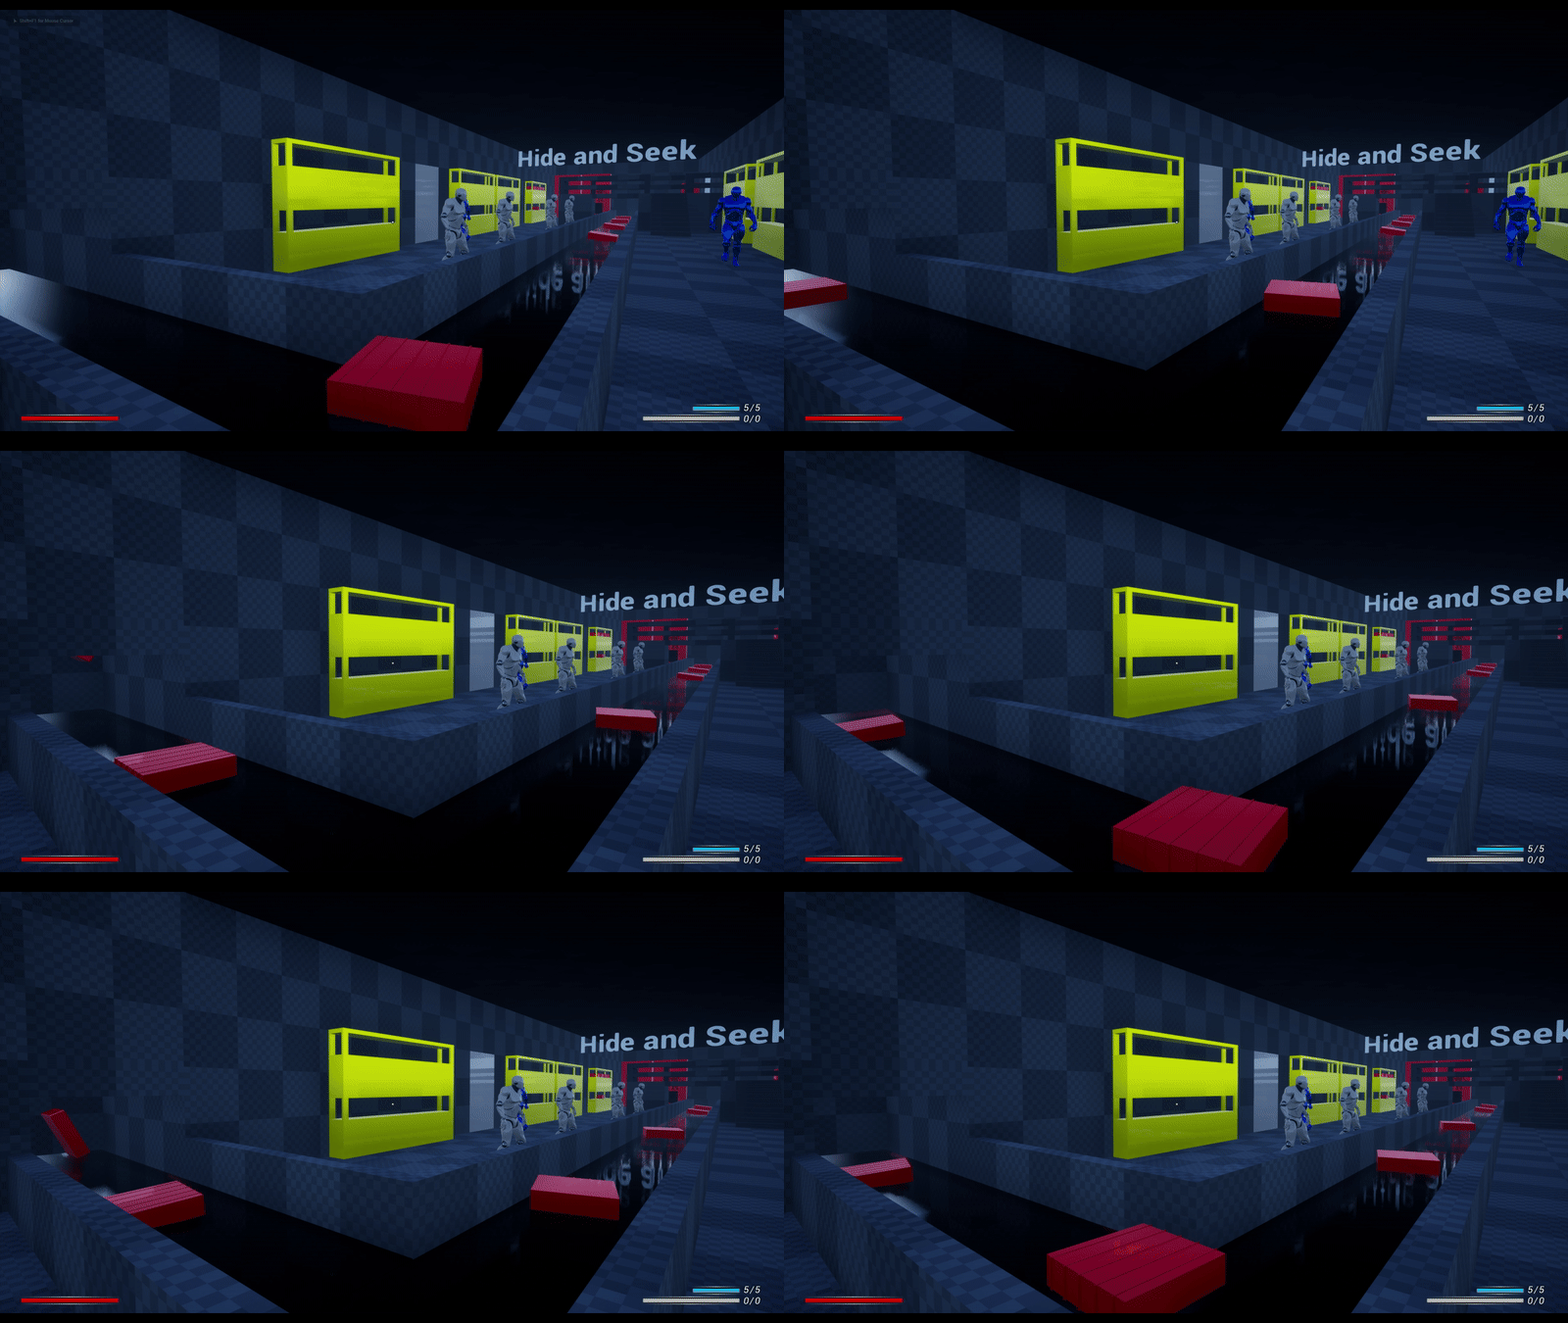
Convery Belt
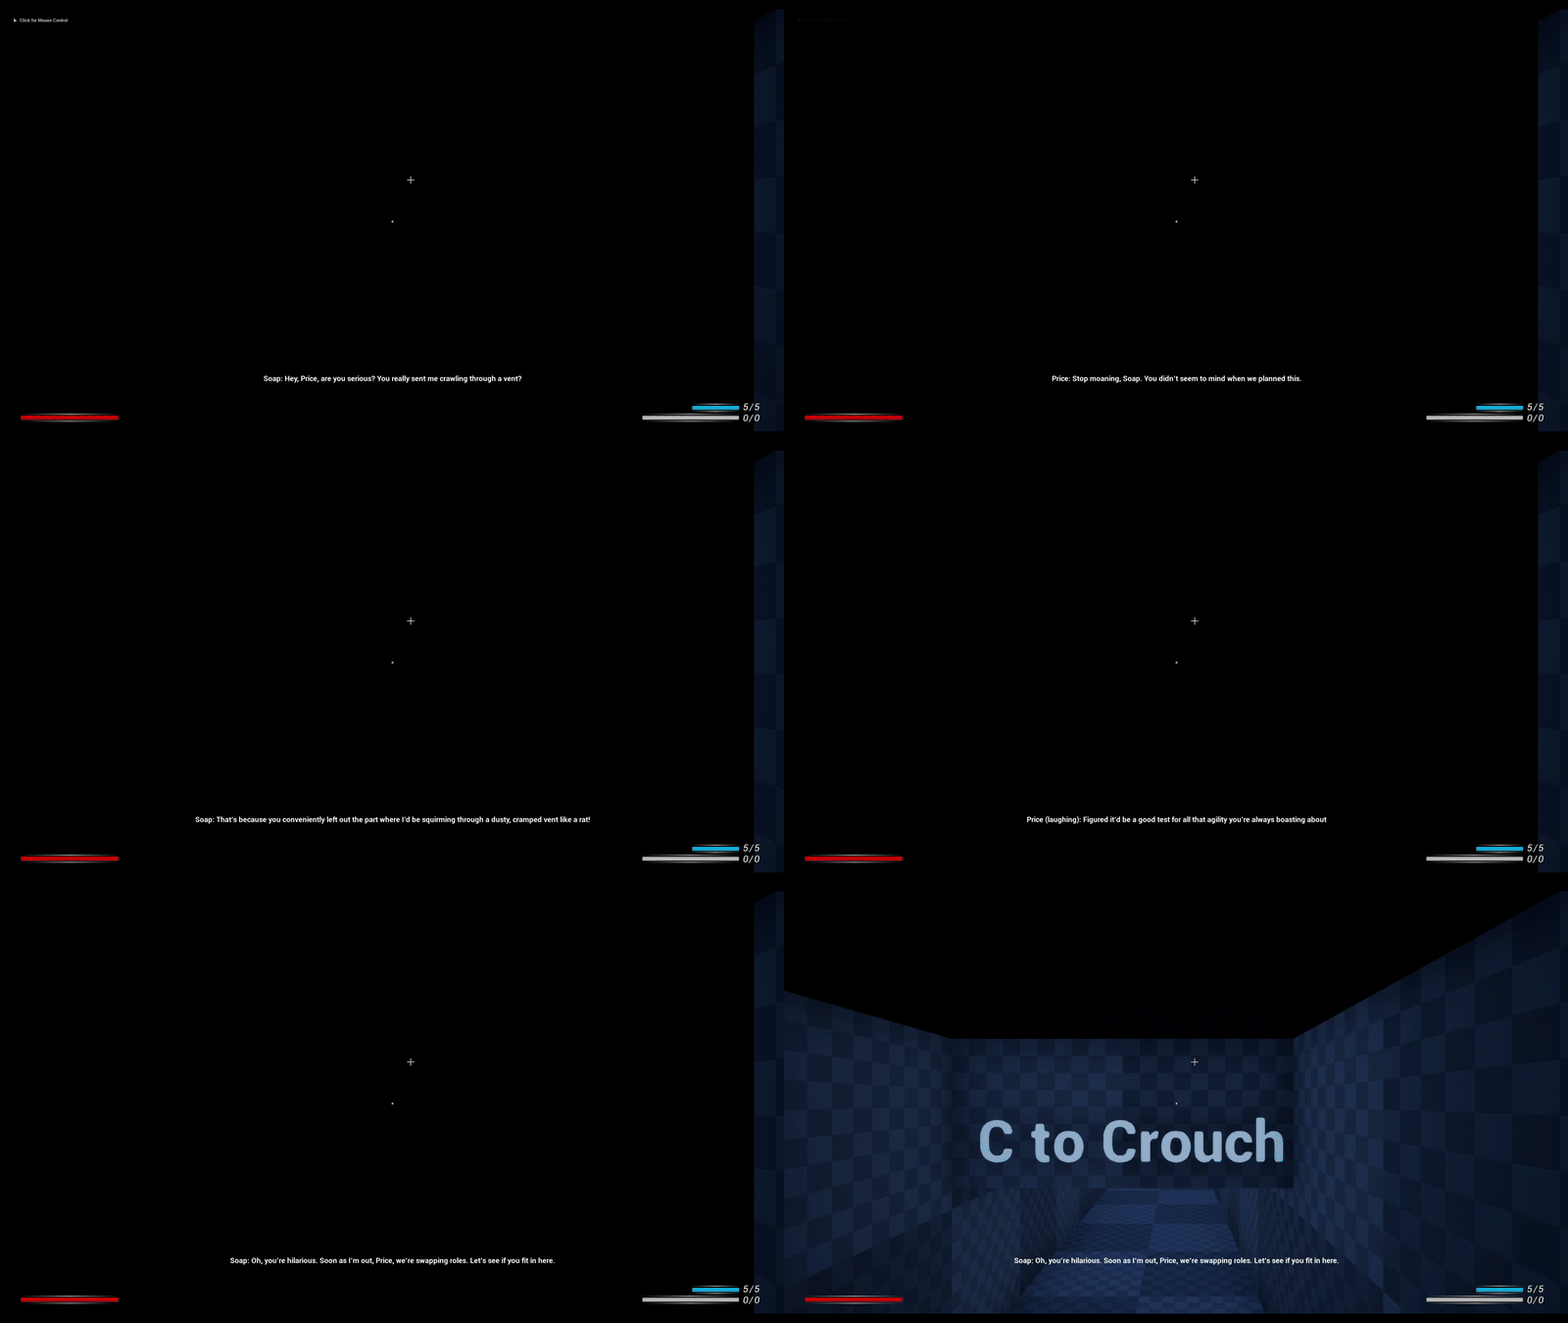
Dialogue System
Elevator
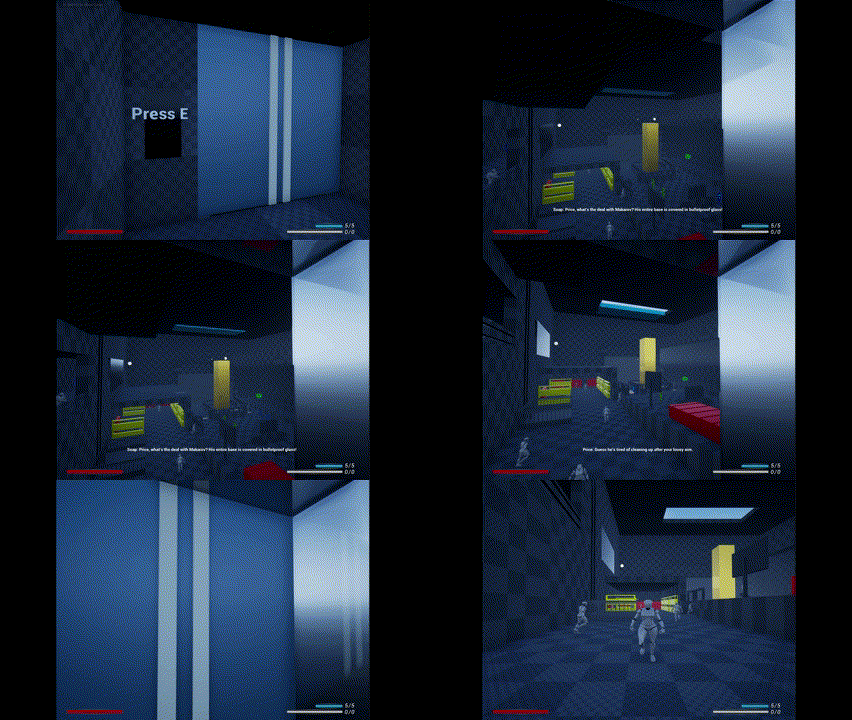
Ending Sequence
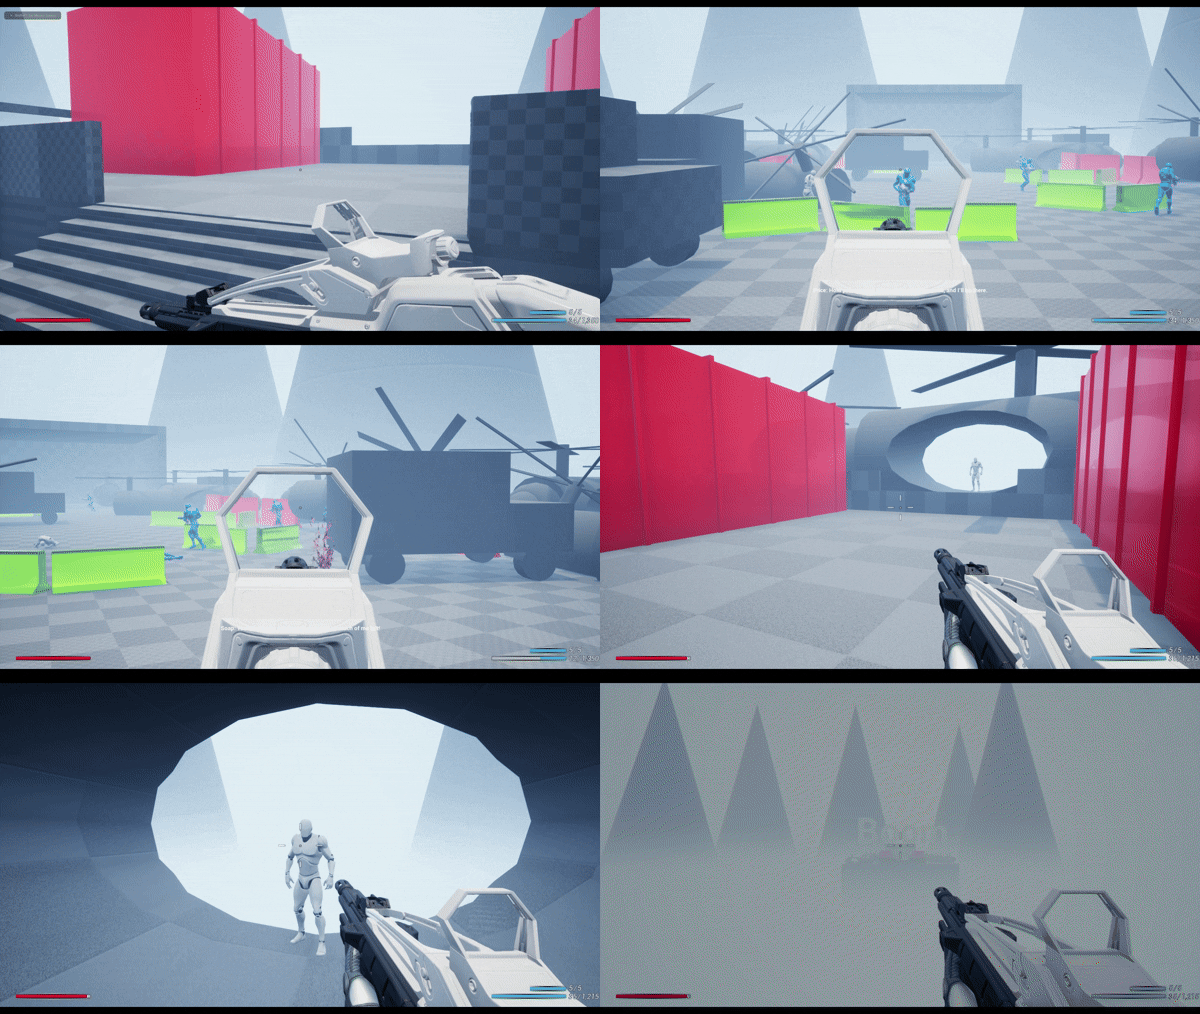
Pacing & Player Pressure Graph

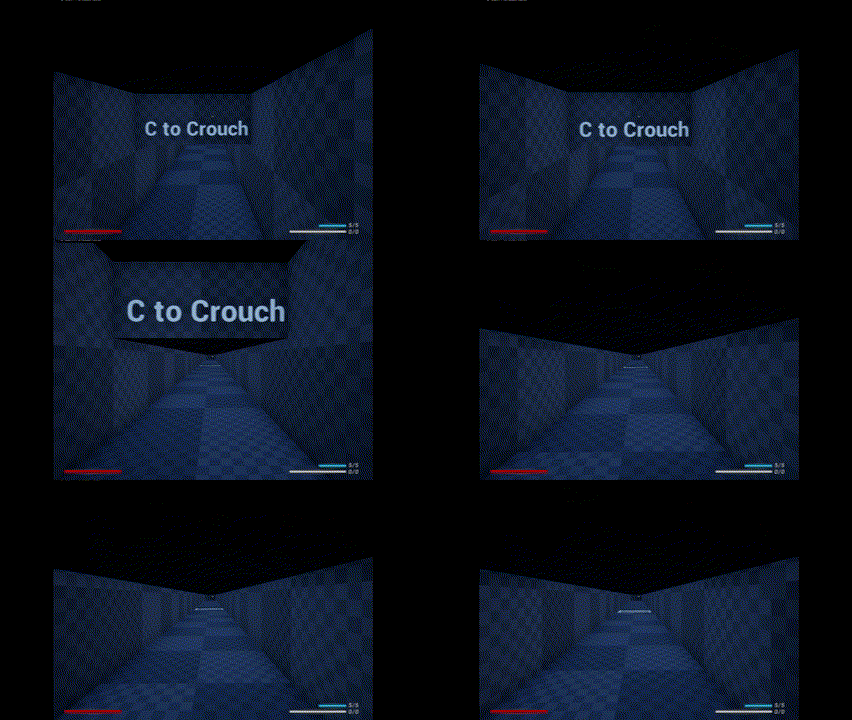
Start - Vent (50 - 40)
The emotional value drops due to the vent's cramped, oppressive design, triggering discomfort from the start.
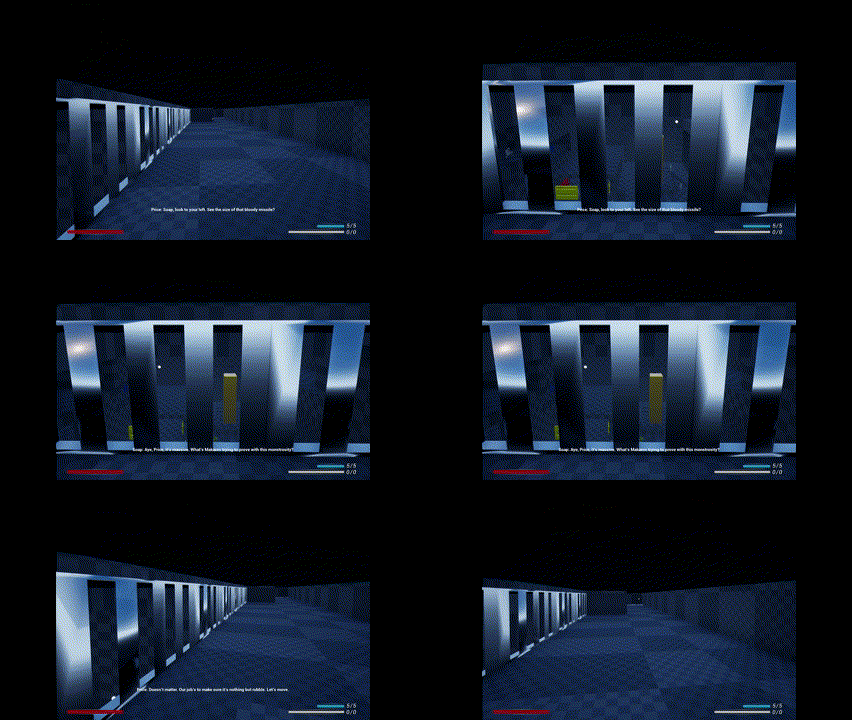
Vent - Missile First View - Continue Vent (40 - 45 - 35)
Emotional value briefly rises with a panoramic view of the missile base, then drops again as the player returns to the claustrophobic vents
Leave Locker Room (35 - 40)
The player obtains an ID card, exits the vent, and enters a larger area
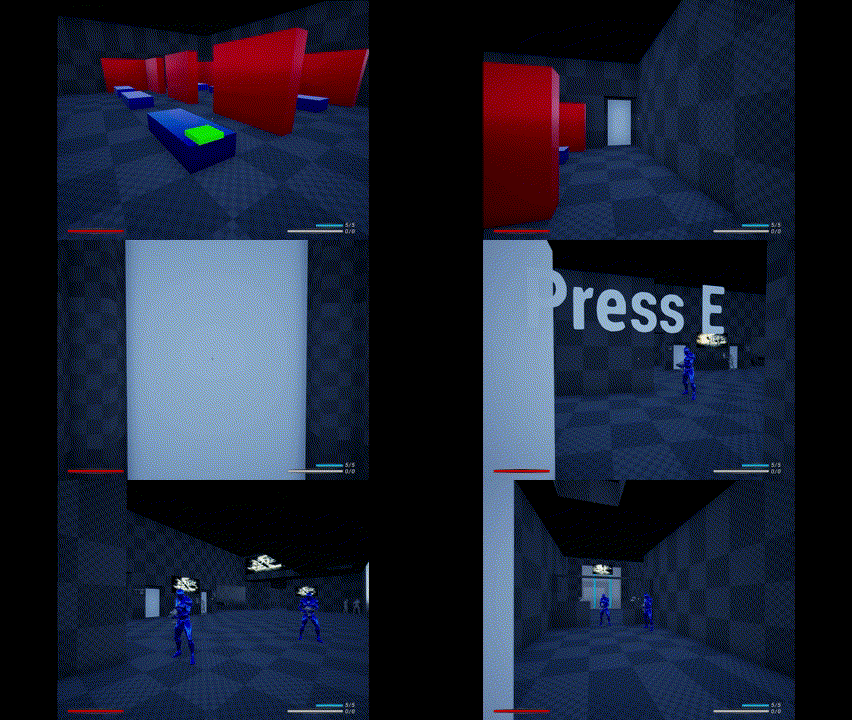
Data Modular (40 - 30)
The lab puzzle mechanics drop emotional value to 30 or even 20 if the player struggles.
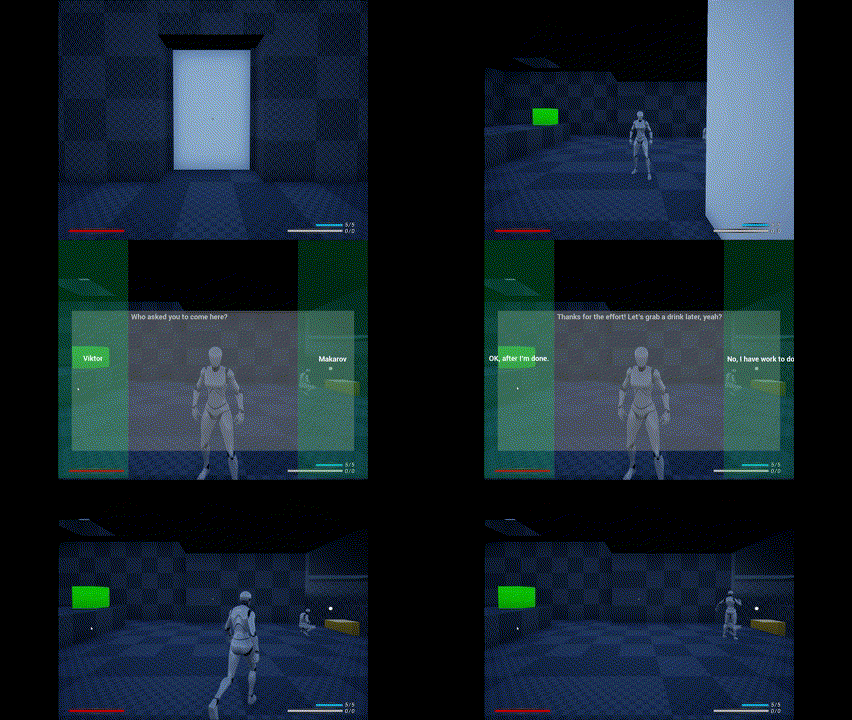
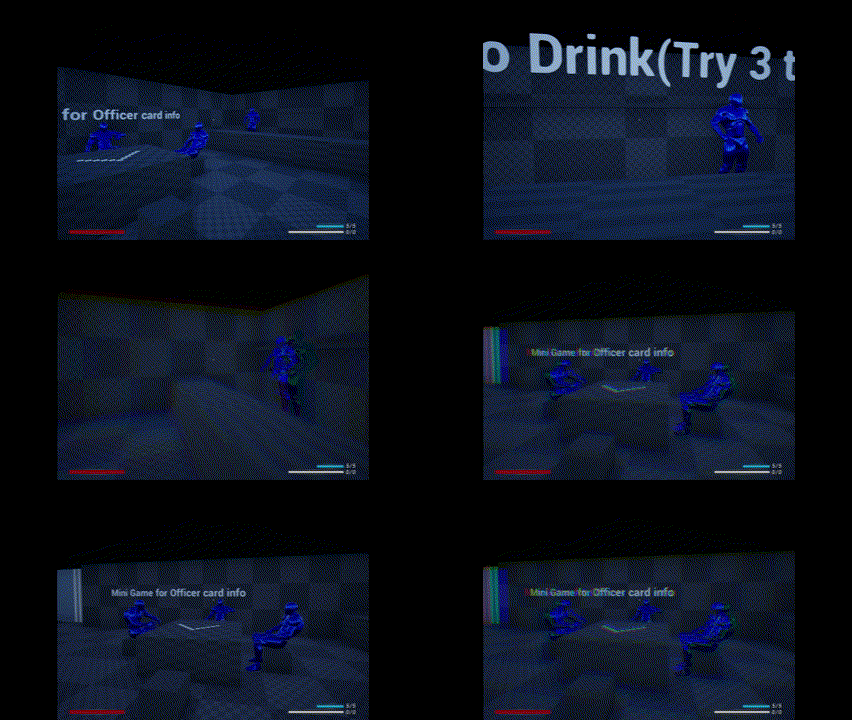
Bar (30 - 35)
Mini-games and Easter eggs offer brief relief from the game's tense atmosphere.
Elevator (30 - 35)
As the player rides the elevator, the opening roof delivers a striking moment of visual impact.

Check Point Card (35 - 25)
A stealth mission increases pressure, dropping emotional value to 25 or even 15 if the challenge overwhelms.

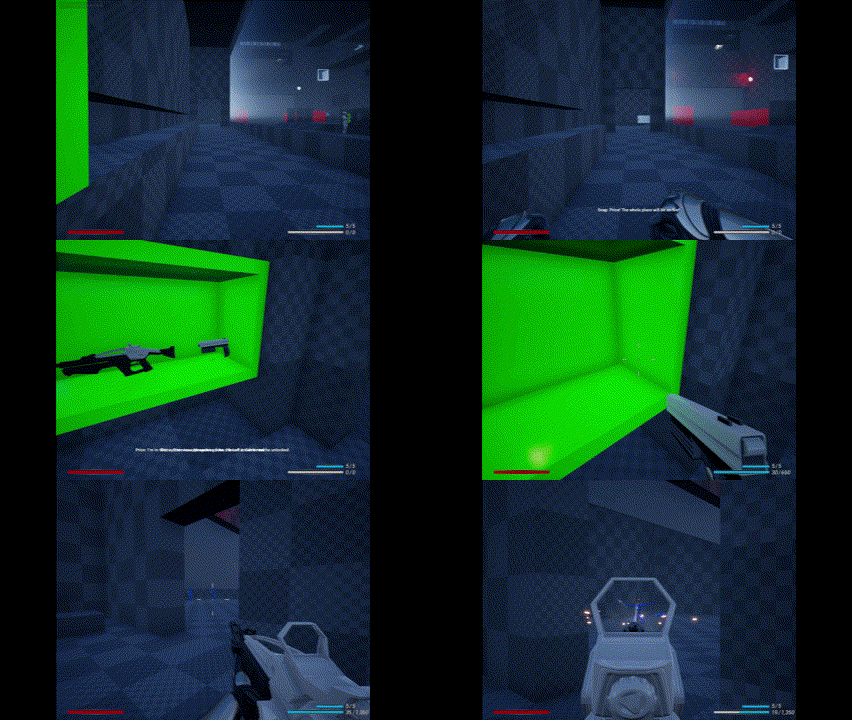
Active self-destruction (25 - 70)
The Turning Point: Pressure Release
After triggering the missile self-destruct, the combat phase lets players release the pressure built up throughout the game.
Escape Elevator (70 - 60)
After the combat phase, the player takes the escape elevator, offering a moment to decompress, then continues the combat.
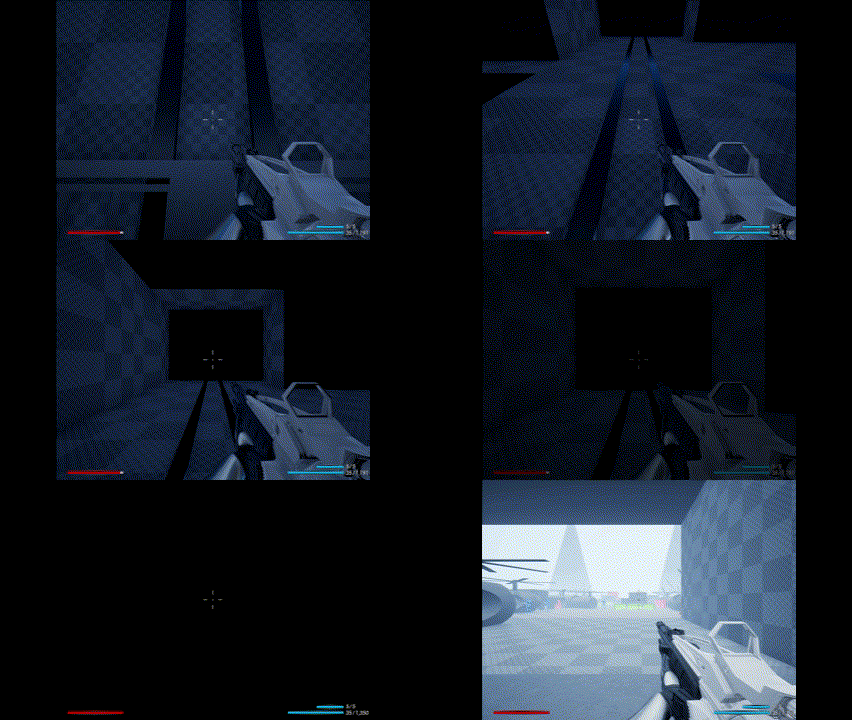
Helicopter Leaving (60 - 100)
After the final defense battle, the player escapes by helicopter, bringing the game to a close and releasing all remaining tension.
